

Fibonacci trading, done properly
Practical, no-hype guides to Fibonacci retracement, trade-setup quality, and risk — the exact method behind the scanner. Every piece is something a trader would actually bookmark, with illustrative charts and zero profit promises.
Fibonacci fundamentals
The core method — what retracement is, drawing it right, the golden pocket, the 50% strategy, and extensions as targets.
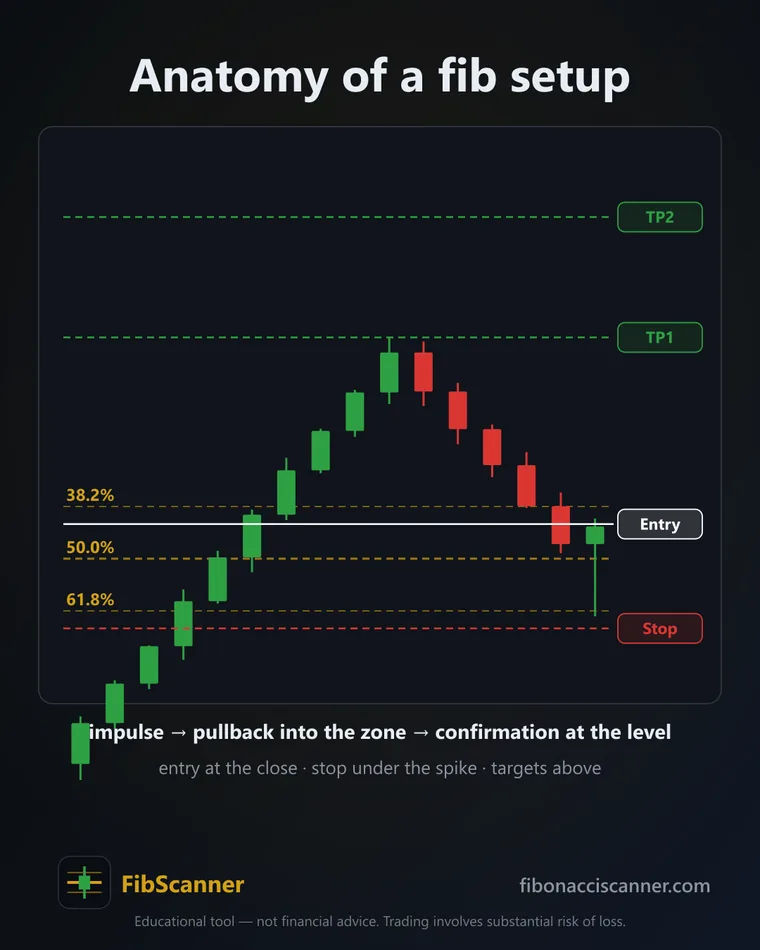
How to Use Fibonacci Retracement (A Practical Guide)
How to use Fibonacci retracement: draw it right, trade the level that actually matters, and set targets with extensions.
Read the guide →Explainer
What Is the Golden Pocket in Trading?
What is the golden pocket in trading? The 0.618–0.65 Fibonacci retracement zone, why traders watch it, and how to enter without guessing.
Read the guide →How-to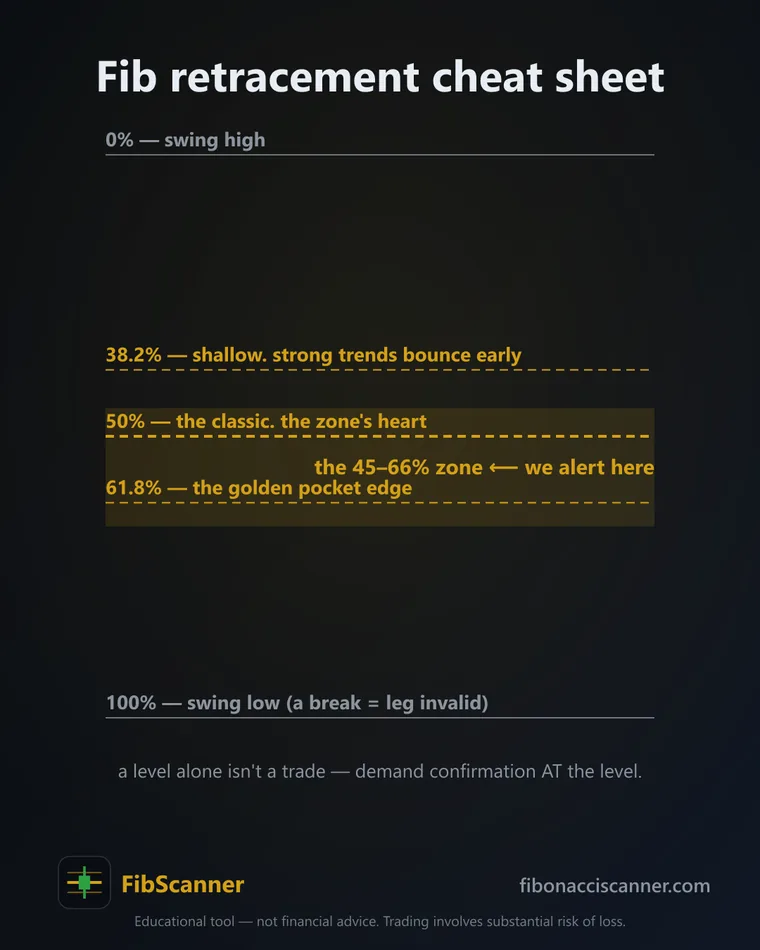
How to Draw Fibonacci Retracement Correctly
How to draw Fibonacci retracement correctly — pick the right swing high/low, get the direction right, and skip the mistakes that ruin your levels.
Read the guide →Strategy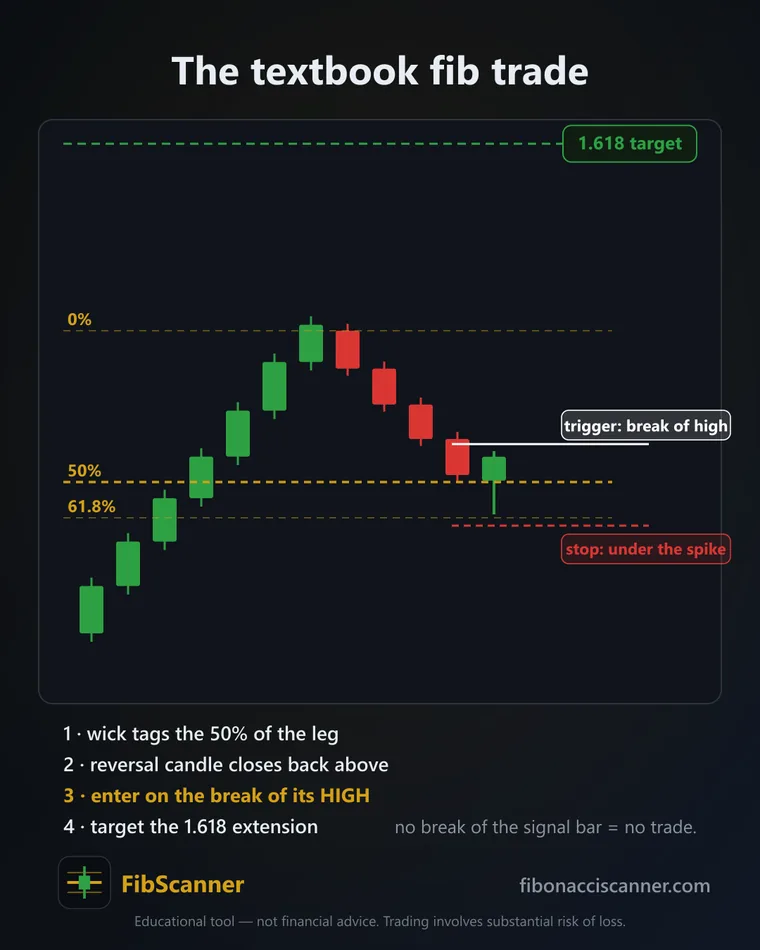
The Fibonacci 50% Retracement Strategy
Fibonacci 50 percent retracement strategy: enter the 50% pullback on a confirmation close, stop under the spike, target 1.618 — with worked examples.
Read the guide →Explainer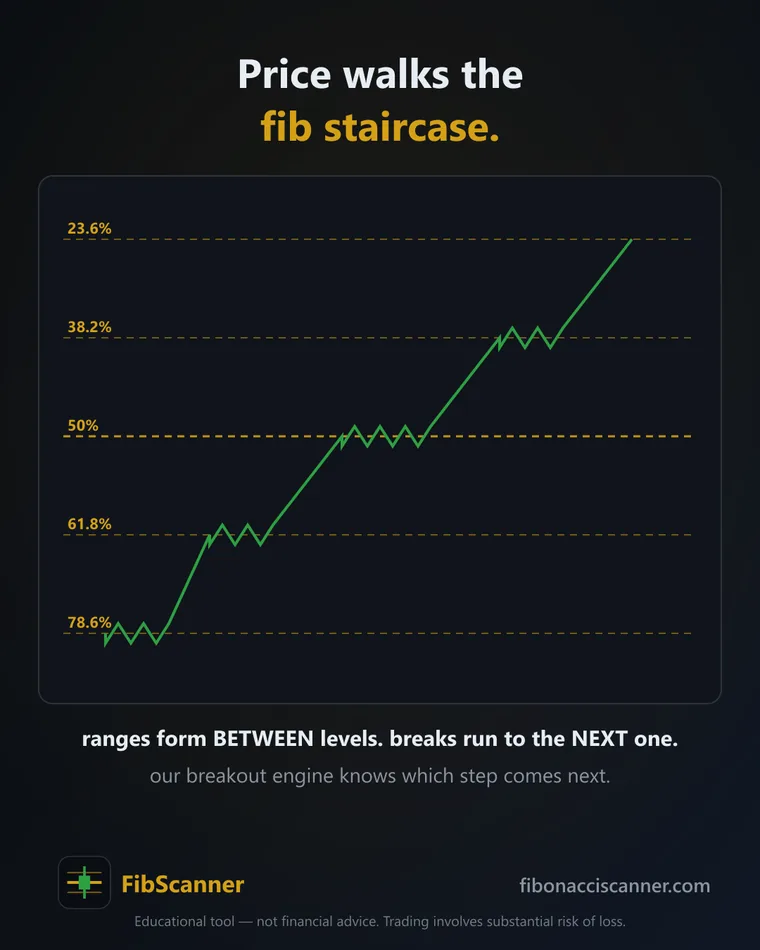
Fibonacci Extension Targets Explained: The 1.272 & 1.618 Levels
Fibonacci extension targets explained: how to draw the 1.272 and 1.618, set exits, and pair them with a real risk-reward check.
Read the guide →Setup mechanics
What separates a real setup from noise — the five quality gates, confirmation candles, and the logic behind every alert.
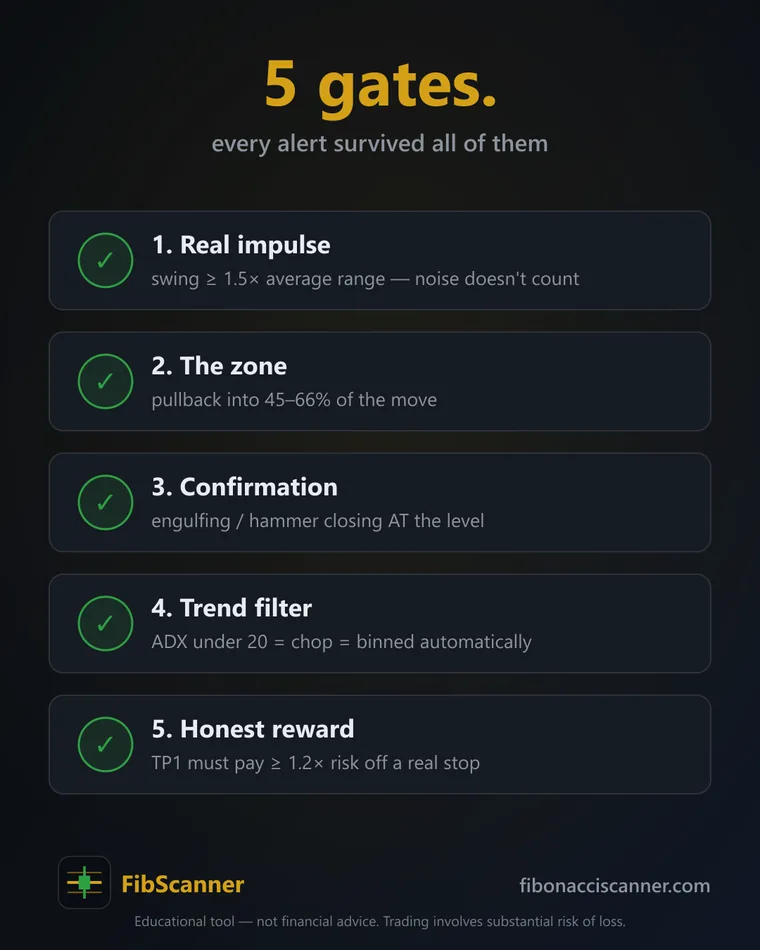
What Makes a Good Trade Setup? The 5 Gates Every Candidate Must Pass
What makes a good trade setup? The 5 quality gates that separate real setups from noise — impulse, pullback, confirmation, trend, risk:reward.
Read the guide →Explainer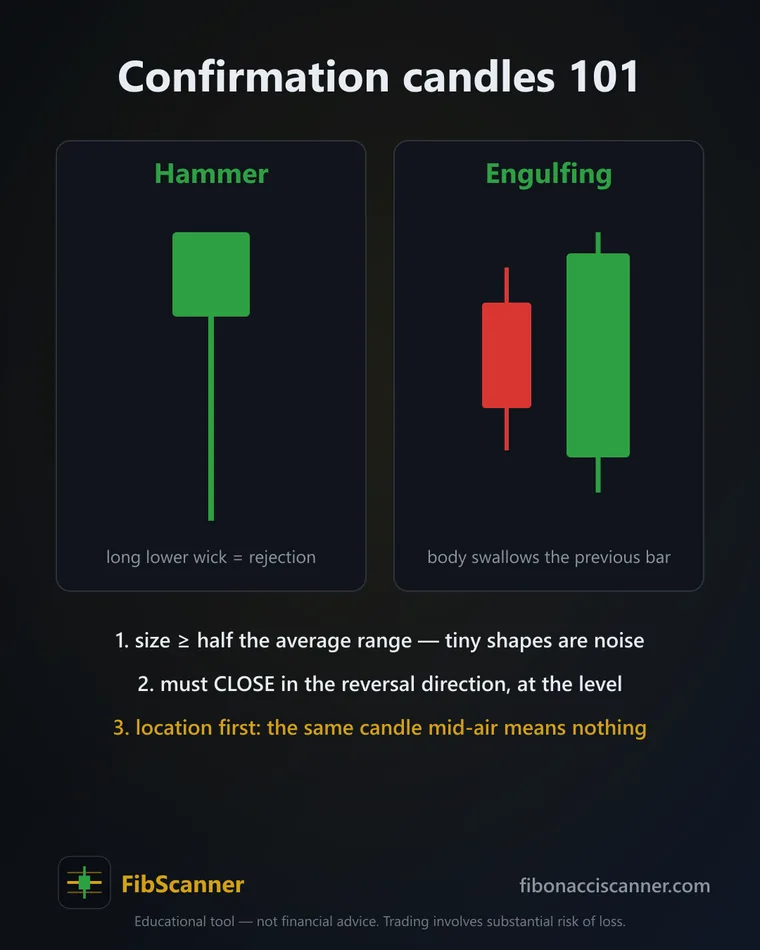
What Is a Confirmation Candle? A Guide to Confirmation Candle Trading
Confirmation candle trading explained: why a candle that CLOSES at your level beats a wick touch, plus where to enter, stop, and target.
Read the guide →Trading workflow & tools
Covering more markets than you can watch - grids, screeners, alerts and scanners, and how to choose between them.
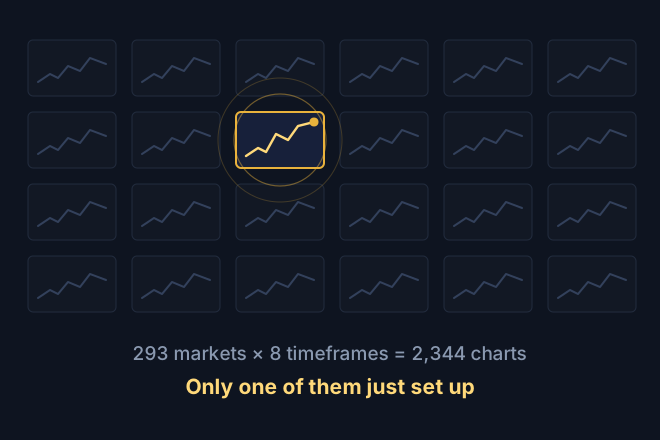
How to Scan Multiple Charts at Once (Without Losing Your Mind)
How to scan multiple charts at once: why grid layouts and alert spam fail past a dozen markets, the four workable methods, and how to pick one.
Read the guide →Guide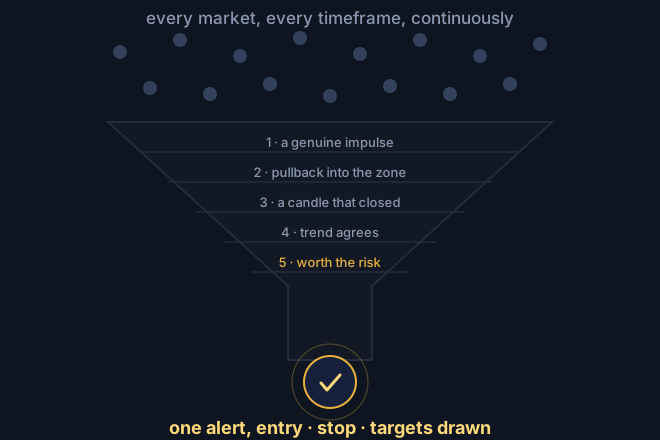
What Is a Trading Scanner and Do You Actually Need One?
What is a trading scanner? How scanners differ from screeners and alerts, what separates a good one from alert spam, and who genuinely needs one.
Read the guide →Try the calculators
The interactive tools that pair with these guides.
